HOW TO INSTALL A VL STRIP GRATE
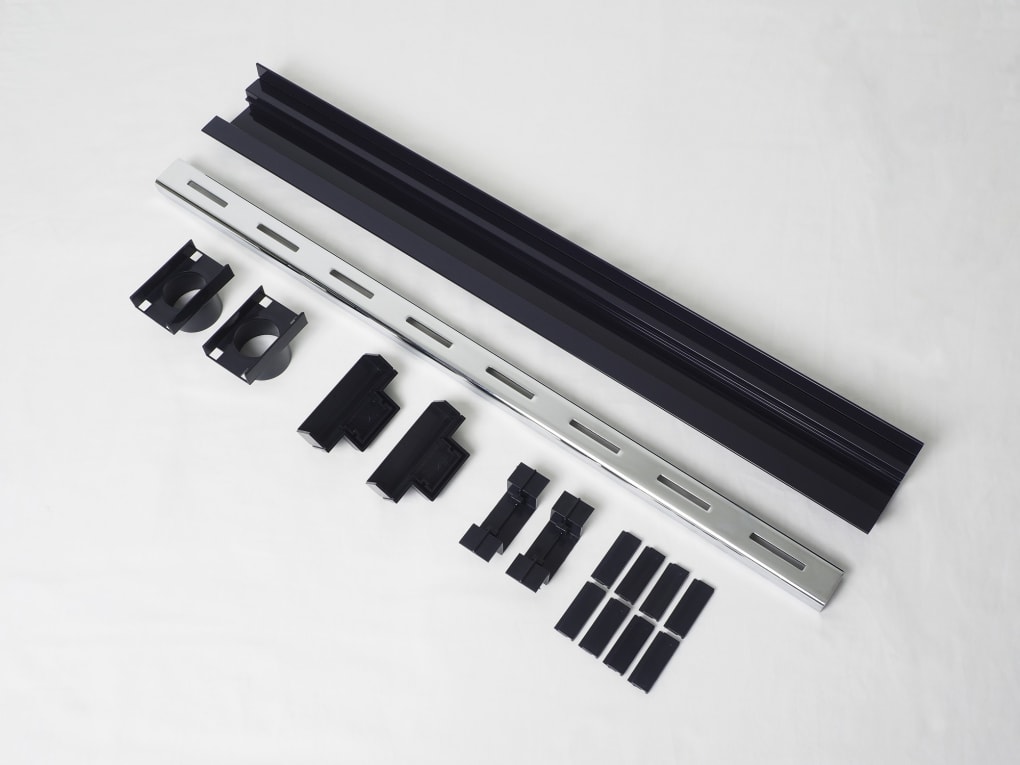
Our VL Strip Grates are easy to install. They come with a complete kit for easy installation, including ABS glue and all necessary components for quick and hassle-free on-site assembly. No extra parts are required. Simply follow this step-by-step guide.
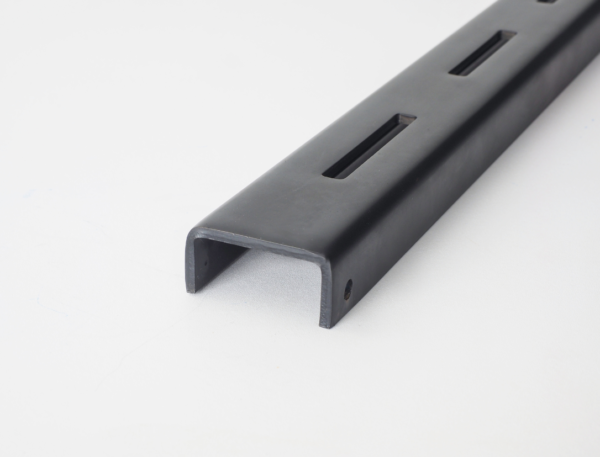
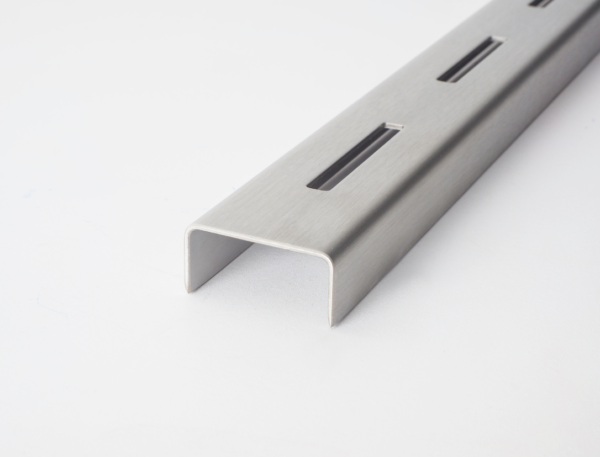
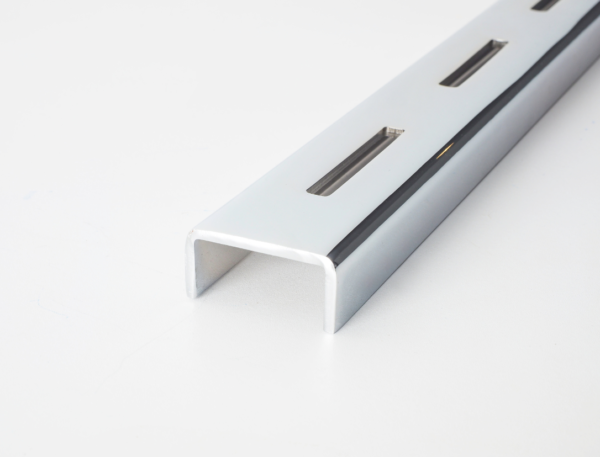
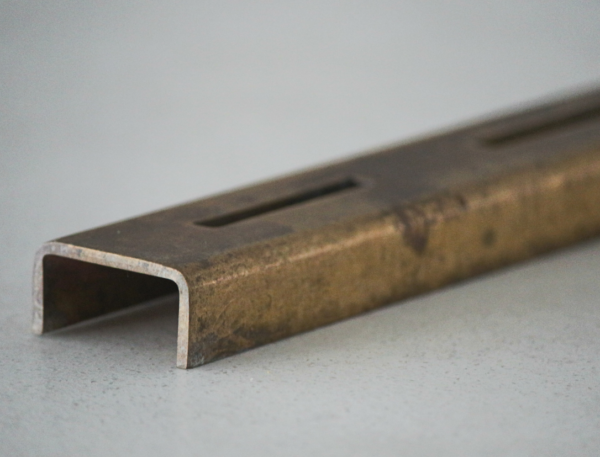
Step 1: Position the channel (against the wall installation)
Place the collection channel so it accommodates the combined thickness of the tile substrate plus the tile (see cross-section).
Step 2: Remove vertical upstand (non-wall installations)
Snap off and remove the vertical upstand from the collection channel and end stops if not installing against a wall.
Step 3: Cut to length
Trim the collection channel as needed( using a drop saw), allowing space for end stops and joiners.
Step 4: Install the spigot
Install one spigot per showerhead along the collection channel. Start by ensuring the spigot aligns with the puddle flange or 50mm DWV pipe. Next, mark and drill a 40mm hole for the spigot. Remove burrs from the holes and cuts for a clean fit.
Glue the spigot onto the collection channel using Weld-On ABS adhesive. (Each VL Series kit comes with Weld-On ABS interference glue, specifically chosen for strong, watertight bonding of the ABS collection channel components to make on-site assembly simple, secure, and reliable.)
Step 5: Assemble and test
Glue end caps to the collection channel using Weld-on ABS adhesive. Test the assembly for leaks before installation.
Step 6: Ensure compliance
Make sure the installation complies with AS 3500.2 plumbing standards.
Step 7: Level the channel
Confirm the top of the collection channel flange is level with the tile substrate.
Step 8: Waterproof and provide fall
Apply waterproofing over the collection channel flange and ensure that the tile substrate has adequate fall toward the drain to allow proper water flow.
All waterproofing must comply with AS 3740 (the Australian Standard for waterproofing wet areas within residential buildings).
Always follow the manufacturer’s instructions for your chosen waterproofing membrane to ensure full adhesion and long-term performance.
Step 9: Apply waterproofing primer
Use a non-poise ABS or PVC primer on the waterproofing flange that is compatible with your chosen waterproofing system. This ensures a proper bond and a watertight seal.
Step 10: Position the tile edge
Ensure the finished tile edge is flush with the inside edge of the collection channel. Do not let the tile overhang the channel.
Step 11: Select and install spacers
After tiling is complete, select the appropriate grate height spacers to match your tile height: 10mm, 12mm, 14mm, 16mm, or 18mm. This ensures a flush finish with the surface of your tiles.
Distribute the spacers evenly along the collection channel to fully support the grate.
Secure each spacer using Weld-On ABS adhesive for a long-lasting hold.
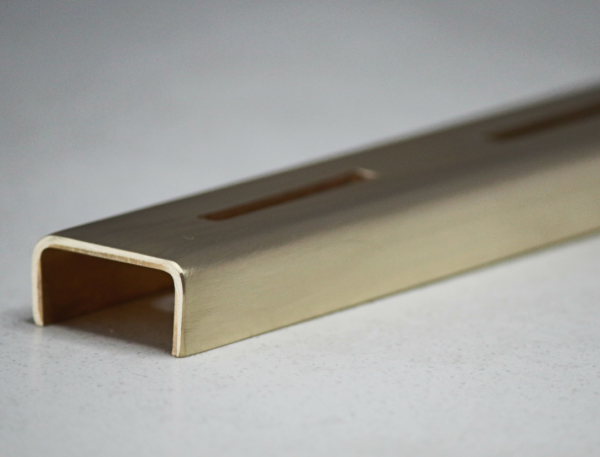
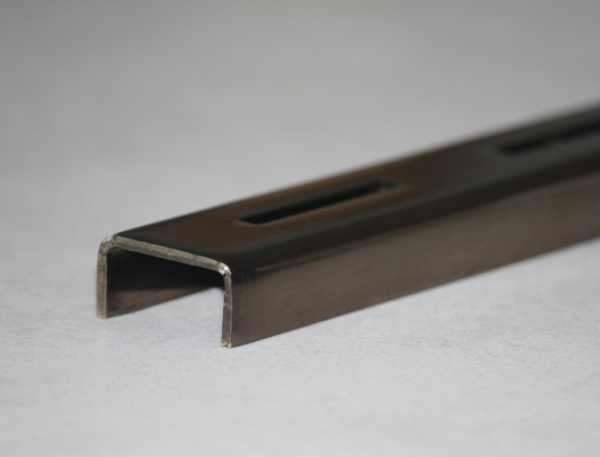
Step 12: Cut the grate to size (if required)
Trim the grate using a bandsaw to the required length for your installation.
Make sure you do not leave burrs or sharp edges on the cut ends. Use a fine file to remove all burrs and smooth the edges before final placement.
Need more guidance?
Watch our step-by-step installation videos or download the full guide to ensure a smooth and compliant install.